How to create Mac OS X 10.6 Snow Leopard virtual machine in UTM
UTM is a frontend for QEMU that works on Mac and iOS.
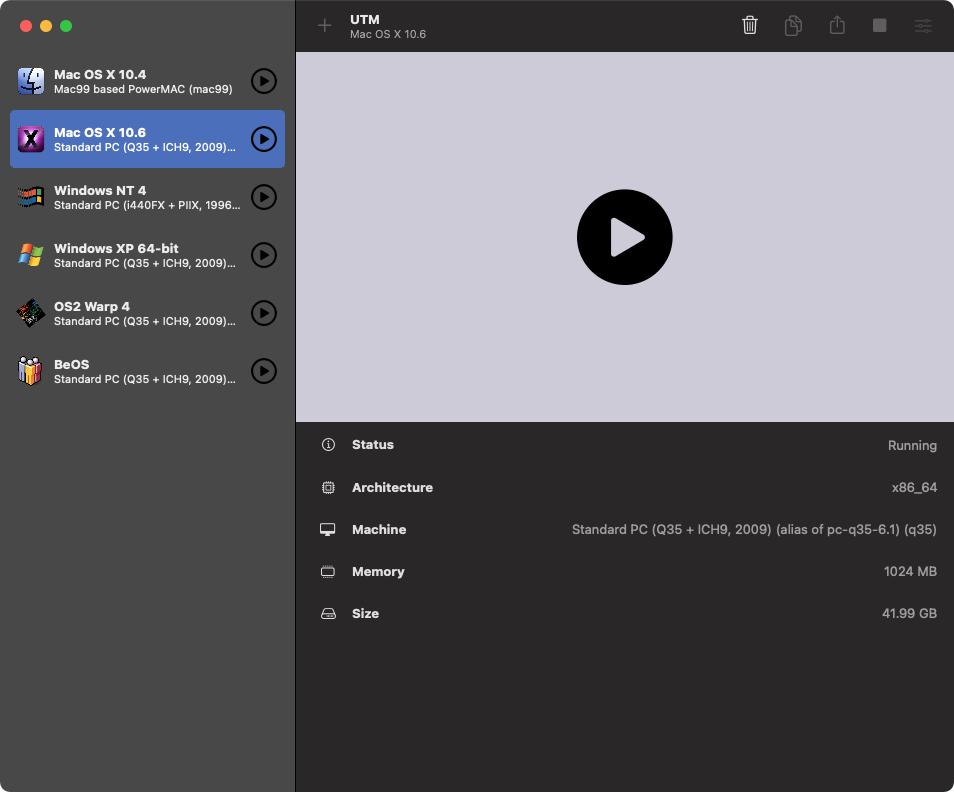
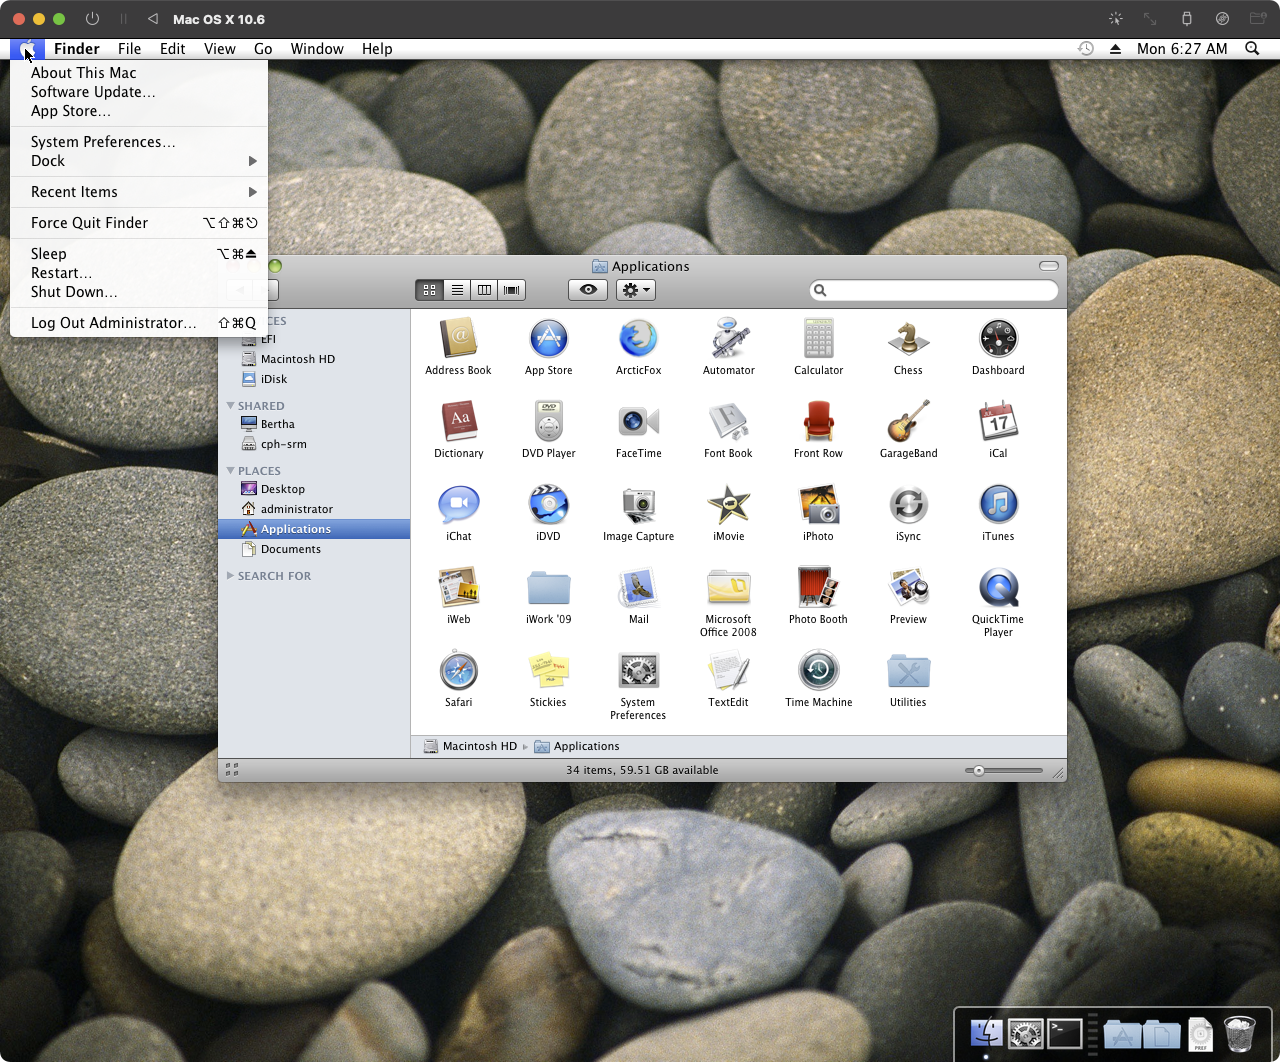
I’ve been working to get Snow Leopard running in UTM (by extension, it would probably also work in QEMU, too). Here’s how to do it.
Updates
7 March 2023: This is confirmed broken on M1 or M2 Apple Silicon Macs, exhibiting a commpage no match for last kernel panic. I just got an M2 MacBook Pro, so stand by while I test. See updates on the comments.
18 January 2025: Snow Leopard is now booting in UTM on Apple Silicon Macs! I wrote up a guide.
Getting Started
For this process, I’ll be saving everything to /tmp. If you are storing files elsewhere, update the paths appropriately.
You’ll need qemu-img, which is provided by QEMU. I installed QEMU via brew:
$ brew install qemuSource a installer disk image
I downloaded the 10.6.7-10J4139-ACDT-OSX.dmg disk image from the Internet Archive.
curl https://ia801802.us.archive.org/18/items/10.6.7-10j3250-disk-images/10.6.7-10J4139-ACDT-OSX.dmg -O /tmp/10.6.7-10J4139-ACDT-OSX.dmgMount the disk image:
$ hdiutil mount /tmp/10.6.7-10J4139-ACDT-OSX.dmg
Checksumming весь диск (Apple_HFS : 0)...
...............................................................................
           весь диск (Apple_HFS : 0): verified   CRC32 $39AD4D29
verified   CRC32 $7AA20F20
/dev/disk4                                              /Volumes/Mac OS X Install DVD
This will mount the disk image to /Volumes/Mac OS X Install DVD.
Use ASR to restore disk image to a new disk image
This step is required because it creates the EFI boot partition in the disk image.
Create a blank read-write disk image:
$ hdiutil create -size 10G -fs HFS+ -volname utm_installer /tmp/sl_utm.dmg
created: /tmp/sl_utm.dmg
… and mount it:
$ hdiutil mount /tmp/sl_utm.dmg
/dev/disk5              GUID_partition_scheme
/dev/disk5s1            EFI
/dev/disk5s2            Apple_HFS                       /Volumes/utm_installer
… which mounts the blank disk image to /Volumes/utm_installer.
Then, use Apple System Restore to write the installer to the read-write disk image:
$ sudo asr restore \
-source /Volumes/Mac\ OS\ X\ Install\ DVD \
-target /Volumes/utm_installer \
-erase -noverify
Enter y when prompted.
        Validating target...done
        Validating source...done
        Erase contents of /dev/disk5s2 (/Volumes/utm_installer)? [ny]: y
        Validating sizes...done
        Restoring  ....10....20....30....40....50....60....70....80....90....100
        Restored target device is /dev/disk5s2.
        Remounting target volume...done
 Restore completed successfully.
Eject all the disk images:
$ hdiutil eject /Volumes/Mac\ OS\ X\ Install\ DVD
"disk4" ejected.

$ hdiutil eject /Volumes/Mac\ OS\ X\ Install\ DVD\ 1
"disk5" ejected.
Convert new disk image to CDR master
Now, we need to convert the disk image to a CDR master:
$ hdiutil convert /tmp/sl_utm.dmg -format UDTO -o /tmp/sl_utm.cdr
Reading Protective Master Boot Record (MBR : 0)...
Reading GPT Header (Primary GPT Header : 1)...
Reading GPT Partition Data (Primary GPT Table : 2)...
Reading  (Apple_Free : 3)...
Reading EFI System Partition (C12A7328-F81F-11D2-BA4B-00A0C93EC93B : 4)...
..
Reading disk image (Apple_HFS : 5)...
.........................................................................................................................
Reading  (Apple_Free : 6)...
Reading GPT Partition Data (Backup GPT Table : 7)...
.........................................................................................................................
Reading GPT Header (Backup GPT Header : 8)...
.........................................................................................................................
Elapsed Time: 54.014s
Speed: 189.6MB/s
Savings: 0.0%
created: /tmp/sl_utm.cdr
Convert CDR master to raw disk image
Finally, we need to convert the ISO into something that can be mounted by UTM (/qemu). This step might not be required since the changes in removable drive handling in UTM v2.4.0, but is included here for posterity:
$ qemu-img convert -p /tmp/sl_utm.cdr -O raw sl_utm.img
    (100.00/100%)
Source EFI boot volume
We’re essentially creating a Hackintosh, so you’ll need some sort of boot loader to boot Mac OS X on “standard” PC hardware. OpenCore is the most commonly used boot loader at the moment, and is responsible for loading any third-party kexts and patches to boot OS X.
It’s complex, so I have shared my OpenCore boot image on Mega to make this a little easier. Not entirely sure if I’m even close to following best practice, but it boots okay regardless.
Download the boot loader and save it to /tmp (or wherever, I don’t care).
Profit!
It’s time to create a new virtual machine in UTM. Let’s get cracking:
System
- Architecture: x86_64
- System: Standard PC (Q35 + ICH9, 2009) (alias of pc-q35-6.1) (q35)
- Memory: 1024 MB
- ☑️ UEFI Boot
- CPU: Penryn
- CPU Flags: sse4.1, sse4.2, ssse3
Drives
- Create a New Drive large enough to hold your Snow Leopard installation, plus any apps that you want to install
- Import the
efi.imgyou downloaded from Mega - Import the
sl_utm.imgyou created from the installation disk image earlier.
Display
- Emulated Display Card: vmware-svga
Network
- Use whatever Network Mode you like. I use Bridged so I can access shared drives on my local network.
- Emulated Network Card: Intel Gigabit Ethernet (e1000)
Sound
- Emulated Audio Card: Intel HD Audio Controller (ich9) (ich9-intel-hda)
Sharing
- Maximum Shared USB Devices: 0
- I set this to zero as I don’t use shared USB devices with this virtual machine. I haven’t tested it, so your milage may vary if it’s set to anything else.
Start the virtual machine. OpenCore will boot the the Install Mac OS X volume by default. A bit of verbose boot will scroll past:
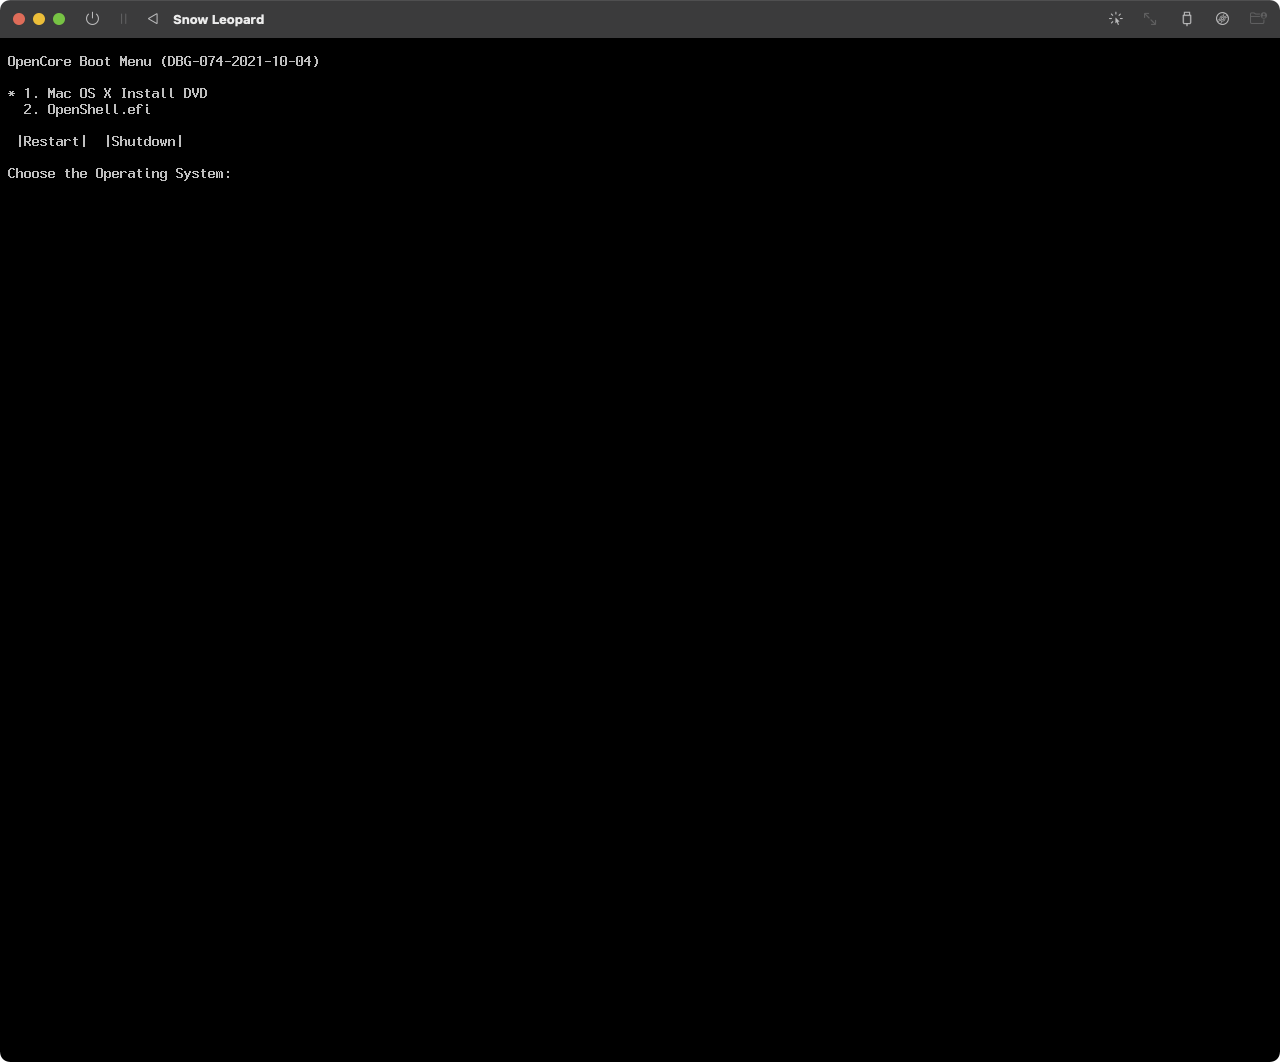
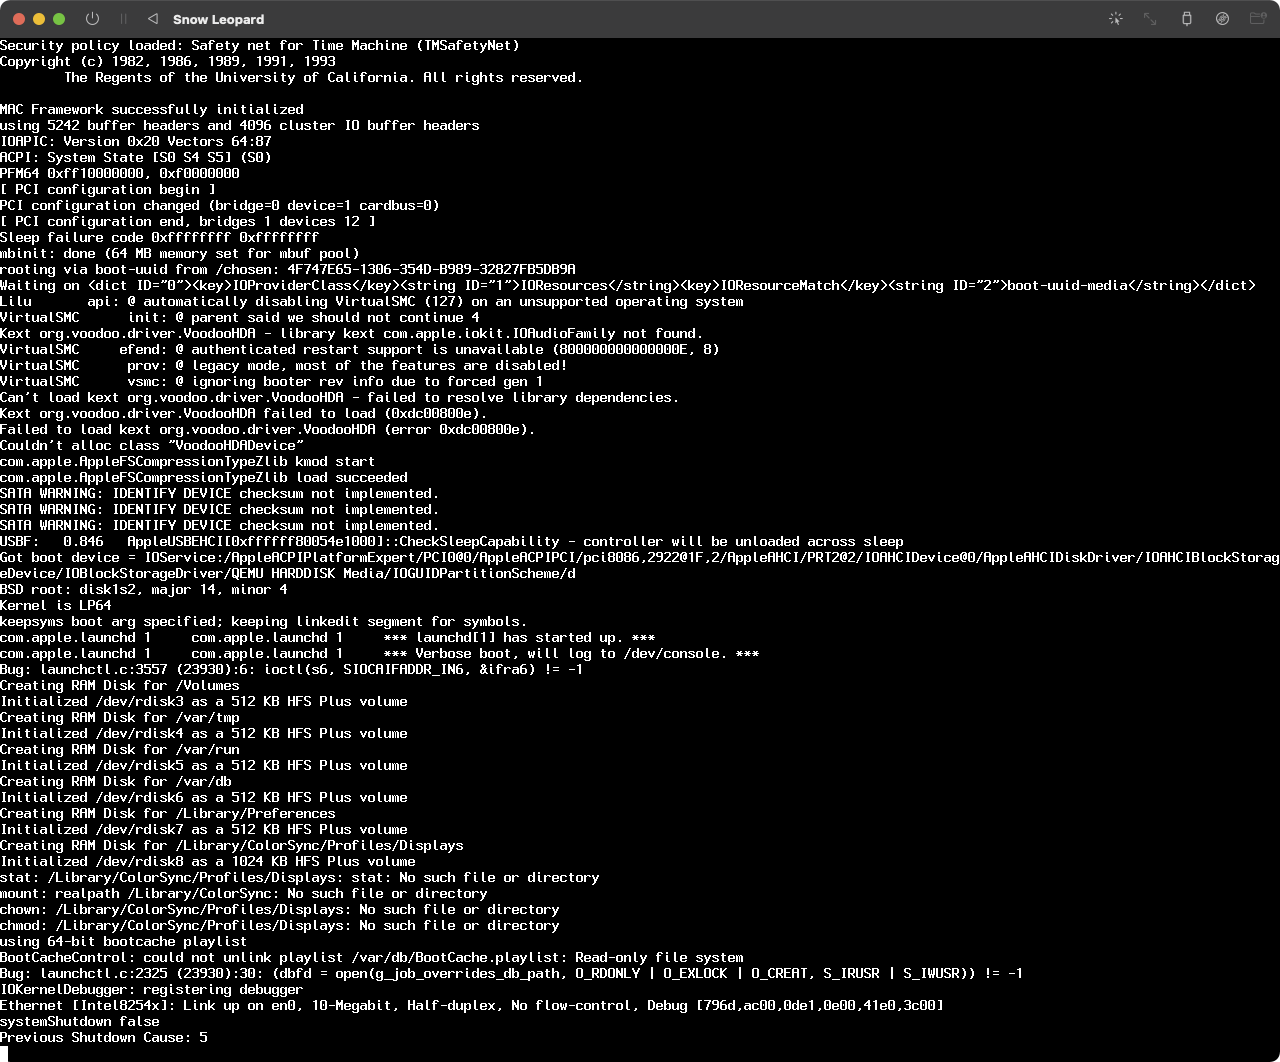
… but you’ll eventually be met by the Snow Leopard installer:
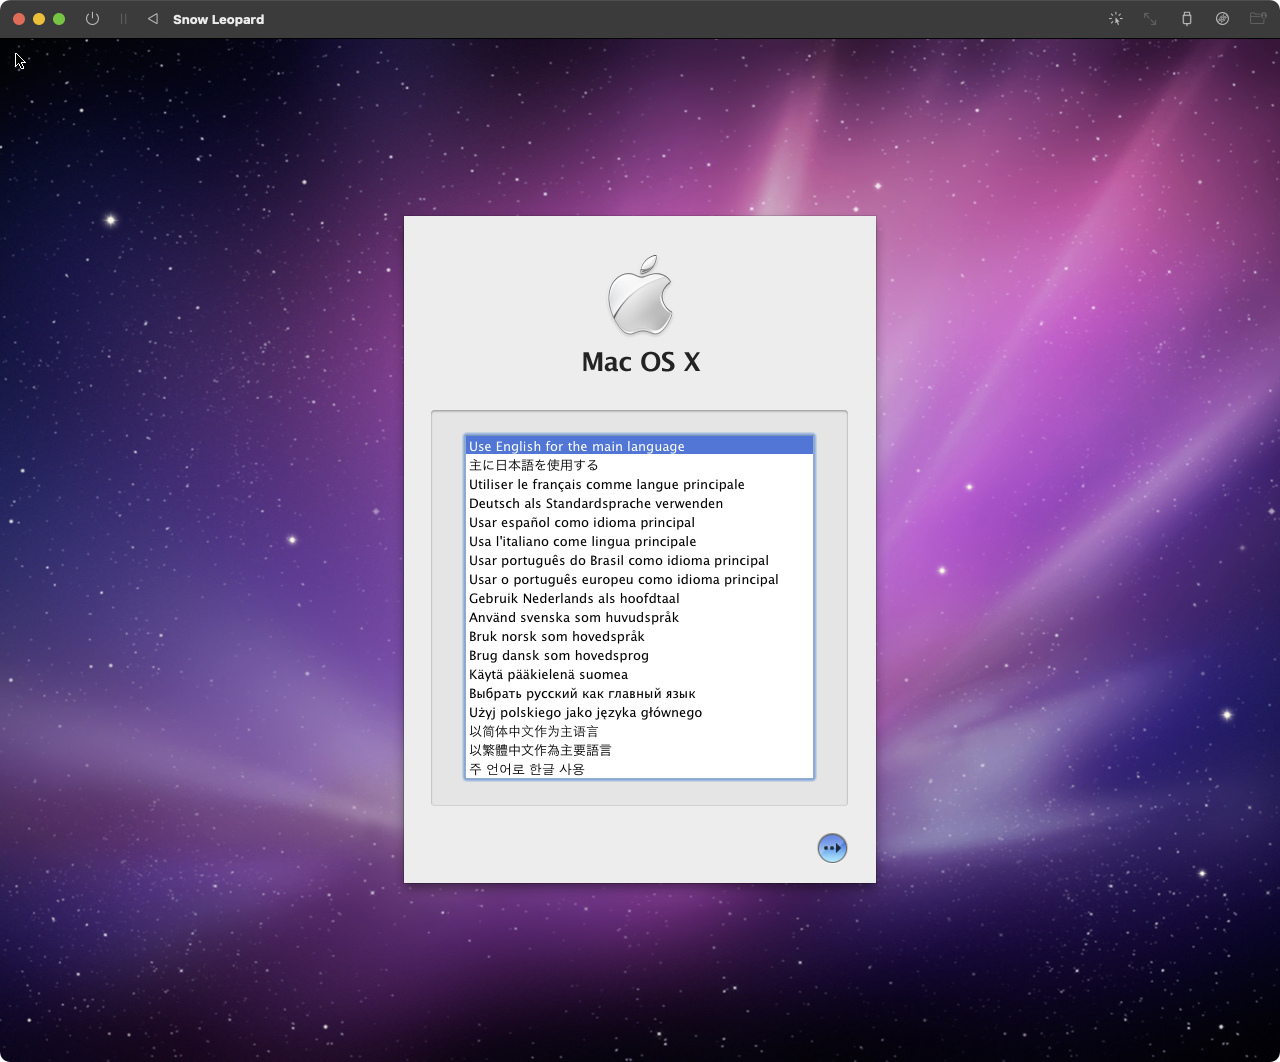
Follow the installation process as normal, and after completing the out-of-box process you’ll end up at the desktop.
Changelog
- 2025-01-18: Got ‘em! Snow Leopard is now booting in UTM on an Apple Silicon Mac. Check it out!
- 2022-03-22: thanks to Rick in the comments and Kyle in the Discord for identifying a fault with the OpenCore EFI image I provided. It looks like the default
HfsPlus.efidriver works great on an Intel Mac with the hypervisor enabled, but on an M1 Mac it fails to boot to the OpenCore OS list. I changed the driver toVBoxHfs.efi, and it now works on an Intel Mac with the Hypervisor both enabled and disabled, and on an M1 Mac. I updated the link to point to the new EFI image.