Snow Leopard in UTM on an Apple Silicon Mac
In 2021, I posted about getting Snow Leopard installed in UTM. Unfortunately, at that time I didn’t have a Apple Silicon Mac to test on. In 2023, when I got my hands on one, I found that Snow Leopard doesn’t really like QEMU’s TCG emulation, resulting in a commpage no match for last kernel panic on boot.
I thought it was my white whale, but 2025 was the year in which I would it it done.
So, I kicked off the year by doing some digging in the UTM issues and Discord, as well as various other QEMU / KVM-related Github projects until I found royalgraphx/LegacyOSXKVM project, which provides instructions to get legacy versions of Mac OS X up and running on QEMU via KVM. They had a particularly interesting guide on how to get Snow Leopard running on QEMU under Apple Silicon. Their findings are:
For now though, all I really need to explain is that for some reason the various KP’s that users experience when attempting to first boot or install Mac OS X Snow Leopard on M-Series Macs such as the Commpage or Installer KP are results of some weird TCG/32-Bit emulation errors. As well as OS X itself having trouble with the emulated TCG from ARM64 hosts. I’ve observed that x86_64 hosts using TCG (or commonly known as simply using emulation and not virtualizing) do not experience such errors. Leads me to believe that the installer uses various older parts for 32-Bit cryptography while installing, and the commpage error mainly being the CPU being weird, as in, how it appears to the guest machine.
I was able to get it up and running with no problems at all in Qemu upstream installed via Homebrew. But I still couldn’t get it to boot in UTM – I was getting general protection kernel panics. I did some deep dives, looking at the parameters that was working in Qemu but failing with UTM.
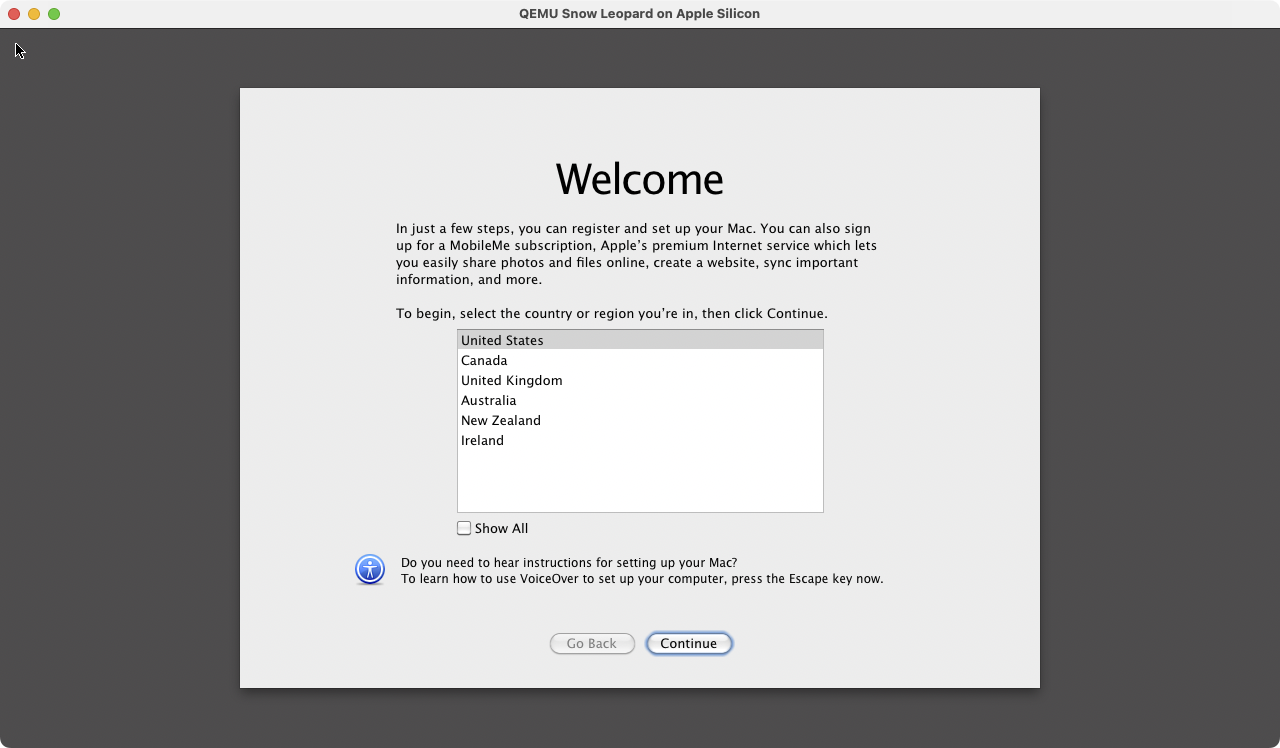
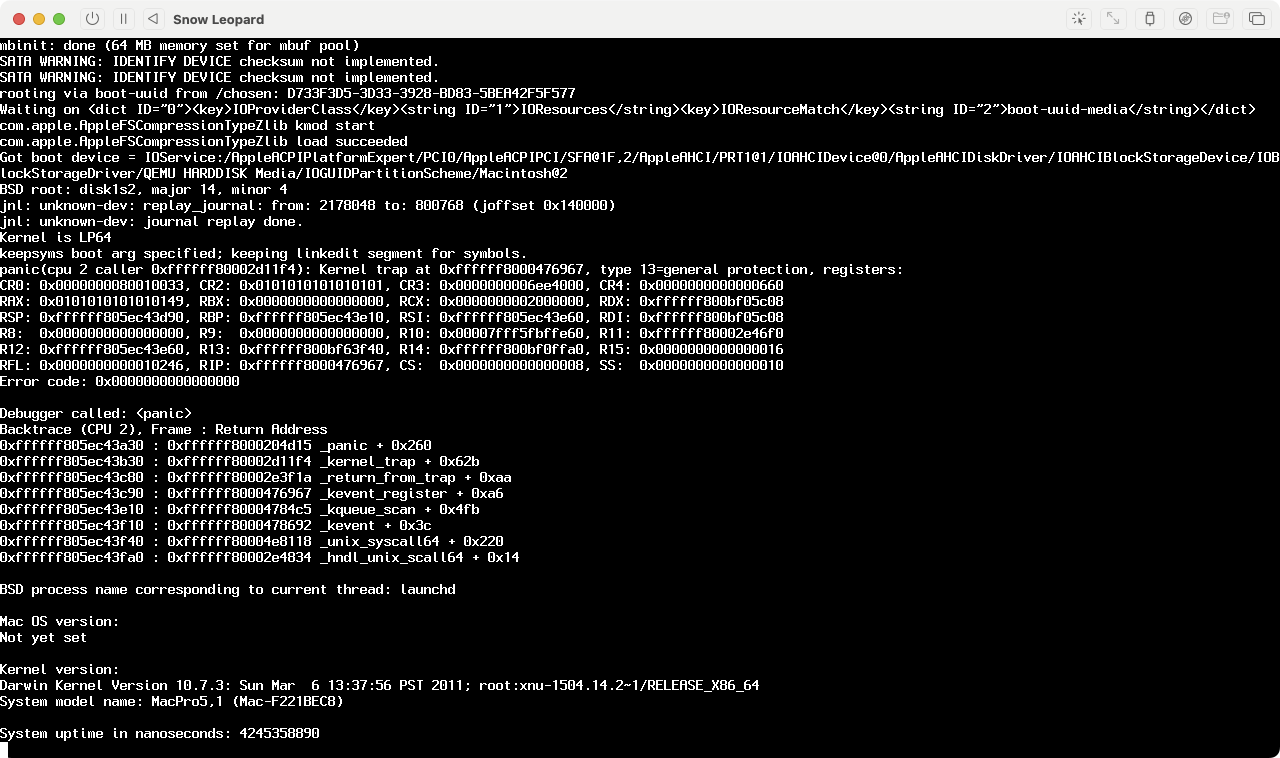
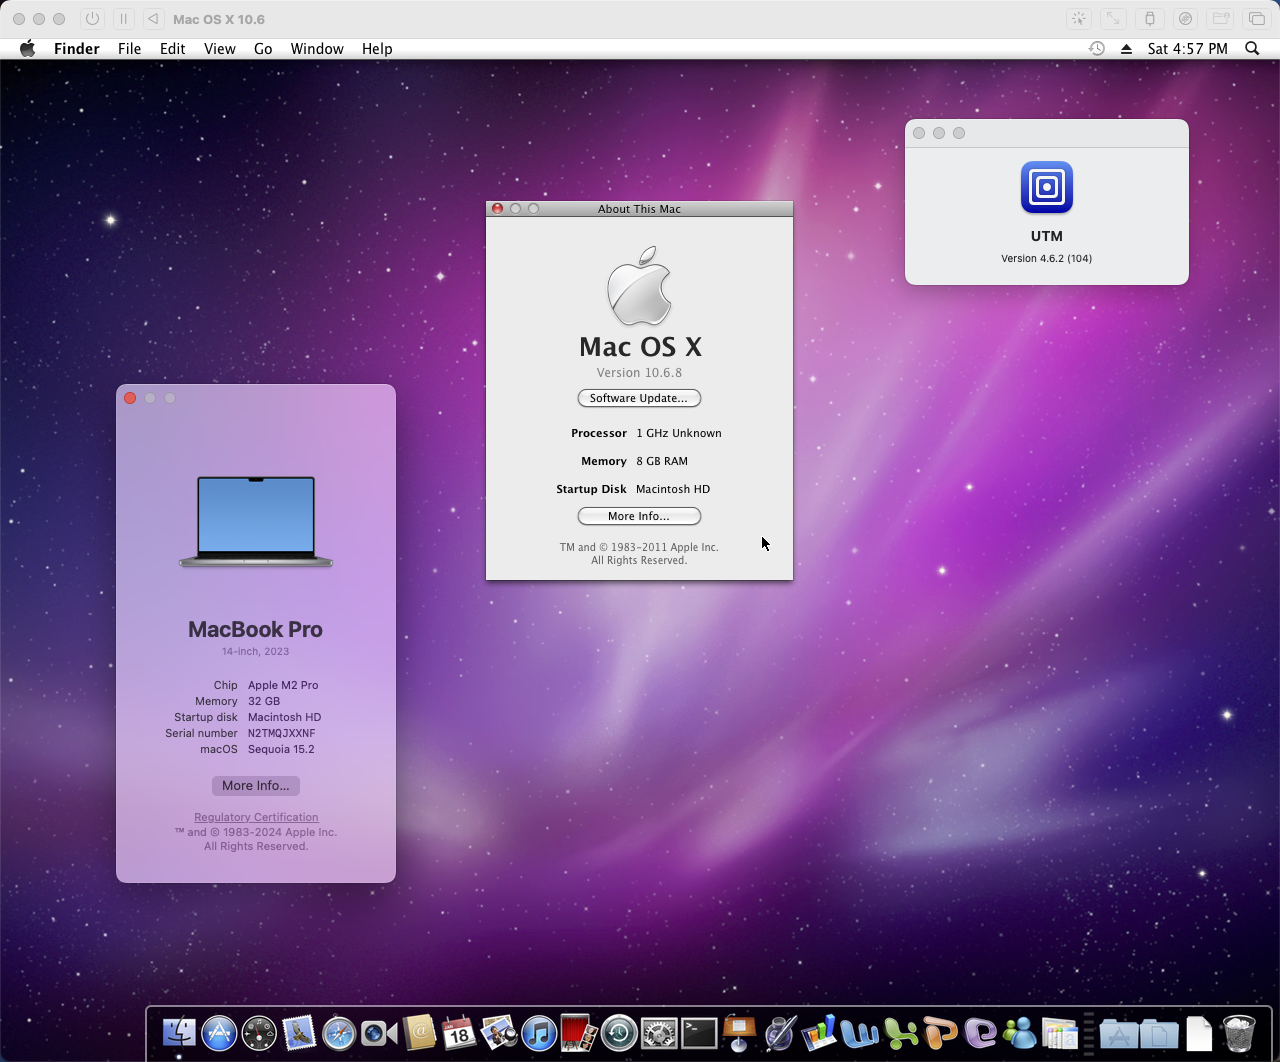
I took a closer look at the QEMU arguments being passed by LegacyOSXKVM and what was being passed by UTM. And, I was able to get Snow Leopard working on UTM.
Source an preinstalled Snow Leopard disk image
The LegacyOSXKVM project suggests the root cause is a 32-bit installer, which is failing in TCG emulation. They reported that, once the installation is completed on an x86_64 host, there are no ongoing problems. And, kindly, they were able to provide a disk image of a completed install on Archive.org.
curl https://archive.org/download/Mac-OSX-SnowLeopard-PreInstalled/macintosh_preinstall.img -O /tmp/macintosh_hd.imgSource an EFI partition for OpenCore
We’re essentially creating a Hackintosh, so you’ll need some sort of boot loader to boot Mac OS X on “standard” PC hardware. OpenCore is the most commonly used boot loader at the moment, and is responsible for loading any third-party kexts and patches to boot OS X.
It’s complex, so I’d recommend using the OpenCore EFI image provided by LegacyOSXKVM.
Download the boot loader, unzip it, and save it to /tmp (or wherever, I don’t care).
Create a new Virtual Machine
- Launch UTM and click File, then New….
- On Start screen, select Emulate.
- For Operating Systen, select Other.
- Set Boot Device to be None, then click Continue.
- On the Hardware screen, set your memory to something reasonable, at least 1024 mb is reccomended. Click Continue.
- For Storage, it doesn’t matter what size disk you create – it will be removed when we configure the VM. Click Continue.
- Ignore the Shared Directory screen, and click Continue.
- Set a fun name for your virtual machine on the Summary screen. Check the Open VM Settings checkbox, and click Save.
Configure the Virtual Machine
If the Virtual Machine Options dialogue doesn’t open automatically, right click the virtual machine you just created, then select Edit.
System
- Architecture: x86_64
- System: Standard PC (Q35 + ICH9, 2009) (alias of pc-q35-6.1) (q35)
- Memory: 1024 MB
- CPU: Penryn
- Force Enable CPU Flags: sse4.1, sse4.2, ssse3
- CPU Cores: 8
- ☑️ Force Multicore
QEMU
- ☑️ UEFI Boot
No other options should be enabled.
QEMU > Arguments
By default, the UTM arguents passed won’t work. So, create new arguments for:
-smp 8,cores=4,threads=2-global ICH9-LPC.disable_s3=0
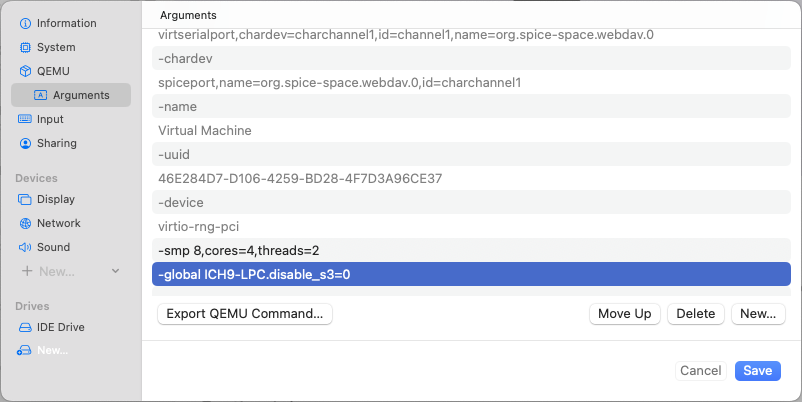
It’s the ICH9-LPC.disable_s3 entry that makes it work – I think there is something going on with sleep states that is making it fail. The other entry will present additional CPU cores and improve performance.
Input
- USB Support: USB 2.0
Leave USB Sharing options disabled, unless you have to pass through USB devices. I haven’t tested this.
Sharing
I disabled Enable Clipboard Sharing and set Directory Share Mode to None.
Display
- Emulated Display Card: Spice QXL GPU (primary, vga compatible) (qxl-vga)
Network
- Use whatever Network Mode you like. I use Bridged so I can access shared drives on my local network.
- Emulated Network Card: Intel Gigabit Ethernet (e1000)
Sound
- Emulated Audio Card: Intel HD Audio Controller (ich6) (intel-hda)
Drives
- Right click the automatically-created IDE Drive, and click Delete.
- Import the
AS_SL.imgdisk image you unzipped from the Github download - Import the
macintosh_hd.imgyou downloaded from Archive.org.
Click Save.
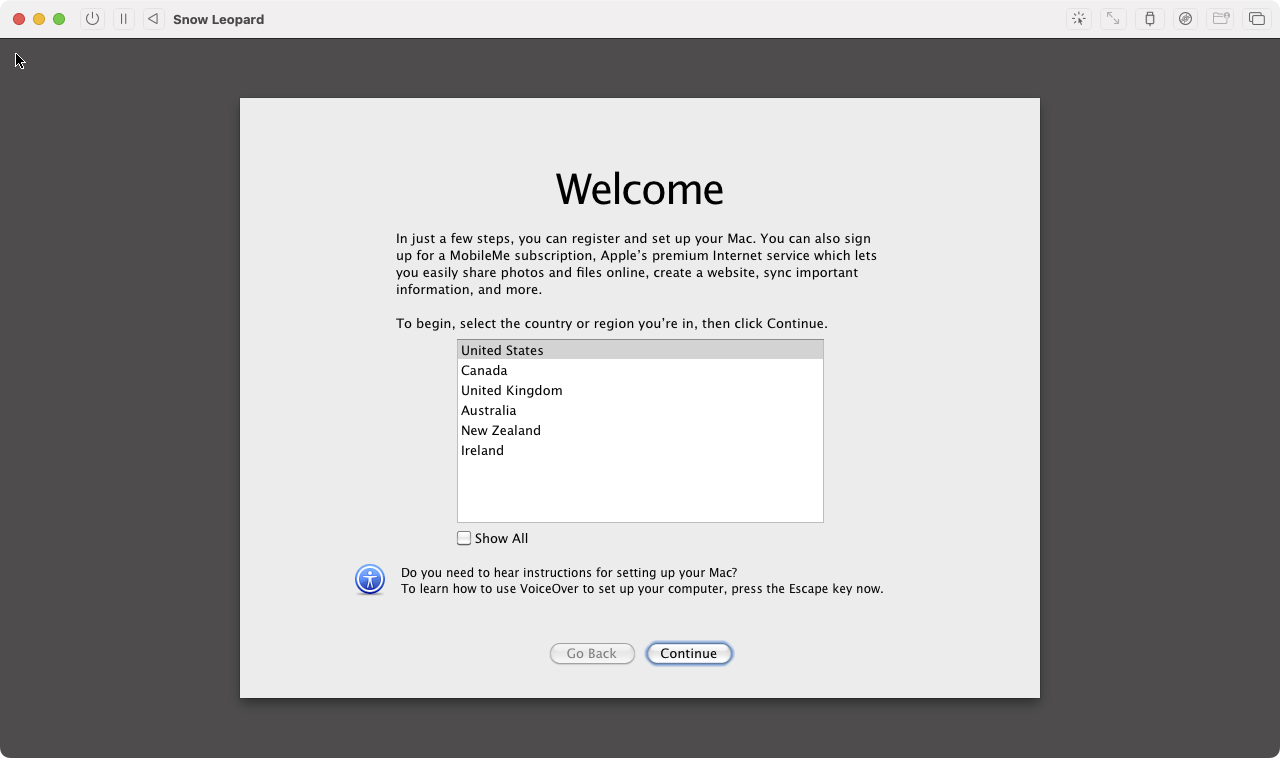
Then, boot the VM. And, welcome to Snow Leopard.
Next steps
There are various kernel extensions that can be used for Snow Leopard under emulation.
VMQemuVGA
VMQemuVGA is an IOFramebuffer driver for the QEMU Virtual Video Controller (QEMU default vga) and VirtualBox Graphics Adapter. It allows to set different screen resolutions in QEMU and VirtualBox from System Preferences. At this stage, despite adding the qxl-vga identifiers to the IOPCIPrimaryMatch in the kext Info.plist, I couldn’t get it to load.
virtio-net-osx
This is a Mac OS X driver for a “virtio” network device. Virtio network devices are supported by KVM and VirtualBox. Despite the readme suggesting it will build under Snow Leopard, I can’t get the build to succeed, and the pre-built binary doesn’t load either.
References
- https://github.com/royalgraphx/LegacyOSXKVM/blob/main/info/AS_SL.md